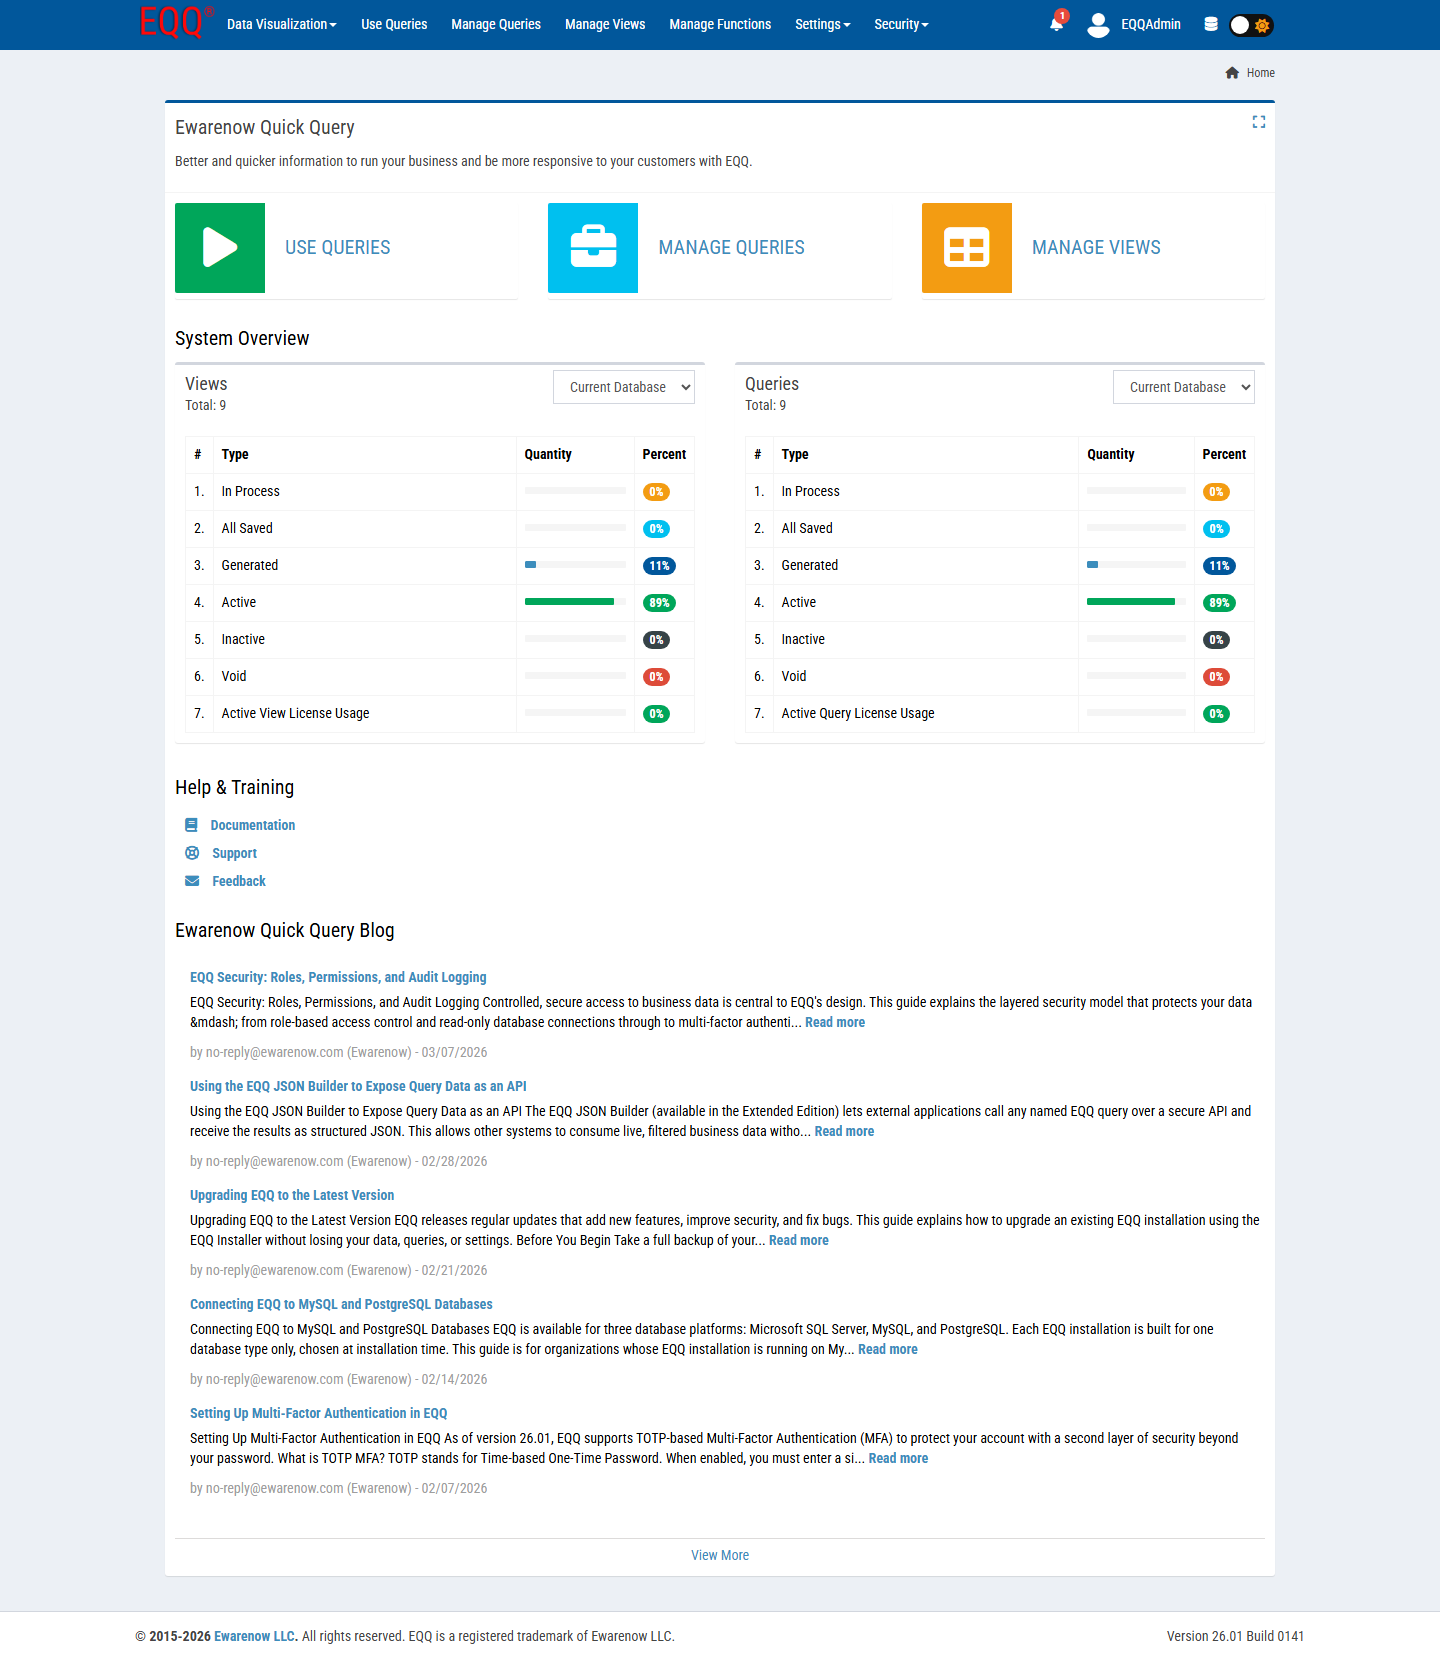
5-Minute Quick Start
This walkthrough takes you from a fresh EQQ install to running your first query. Follow the five steps in order — the whole thing takes about five minutes.
What you'll build:
Before you begin, confirm:
- EQQ is installed and you can reach the sign-in page. (Installation guide)
- You can sign in as
EQQAdminor a user with Settings Administrator, View Creator, and Query Creator roles. - The target database is reachable from the EQQ server and you have its connection credentials.
Step 1 — Sign in
Open http://<your-server>:8081/ in a browser.
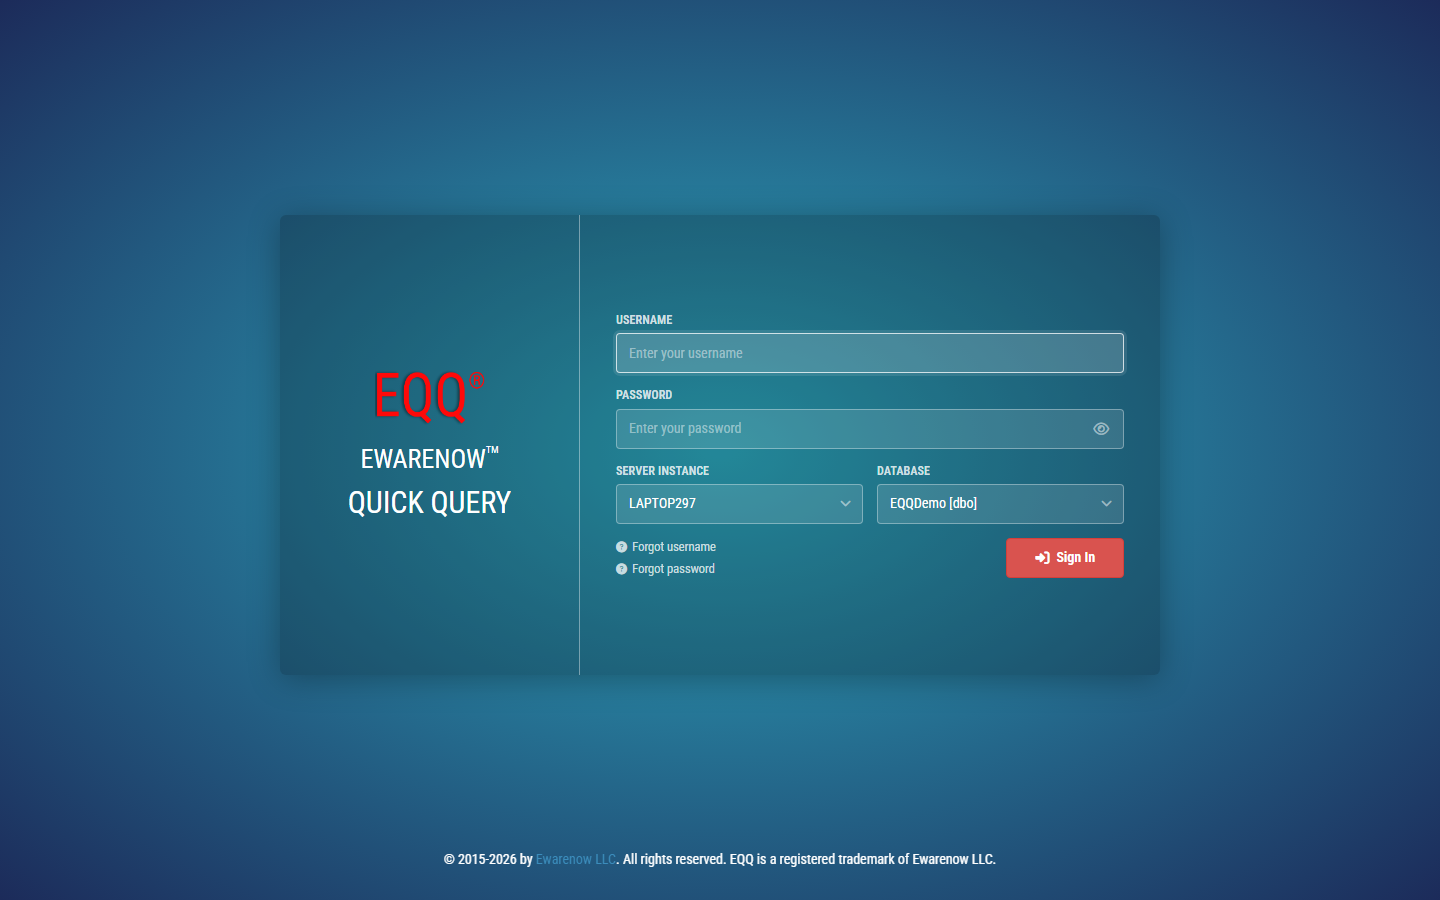
Enter your Username and Password, choose the database scope in the dropdown, and click Sign In.
You land on the Home dashboard.
Database dropdown is empty?
That's expected on a fresh install — you'll register the database in the next step.
Step 2 — Connect your database
EQQ needs to know which database to query. You register connections once; they then appear in the sign-in dropdown for all users.
- In the top bar, click Settings → Database.
- Click + New Database.
-
Fill in the connection form:
Field What to enter Server Instance Hostname or IP — e.g. MYSERVER\SQLEXPRESSorlocalhostDatabase The database name — e.g. NorthwindDatabase Type SQL Server, MySQL, or PostgreSQL Login / Password A read-only application account is recommended Active Leave checked -
Click Test Connection. The button turns green when it succeeds.
- Click Save.
The database now appears in the sign-in dropdown. Use the database icon in the top-right corner to switch to it if needed.
Database already registered?
Skip straight to Step 3.
Step 3 — Create a View
A View is EQQ's governed "window" into a table. It controls which columns are visible to queries — nothing more. Queries are always built on top of Views, never directly on raw tables.
-
In the top bar, click Manage Views.
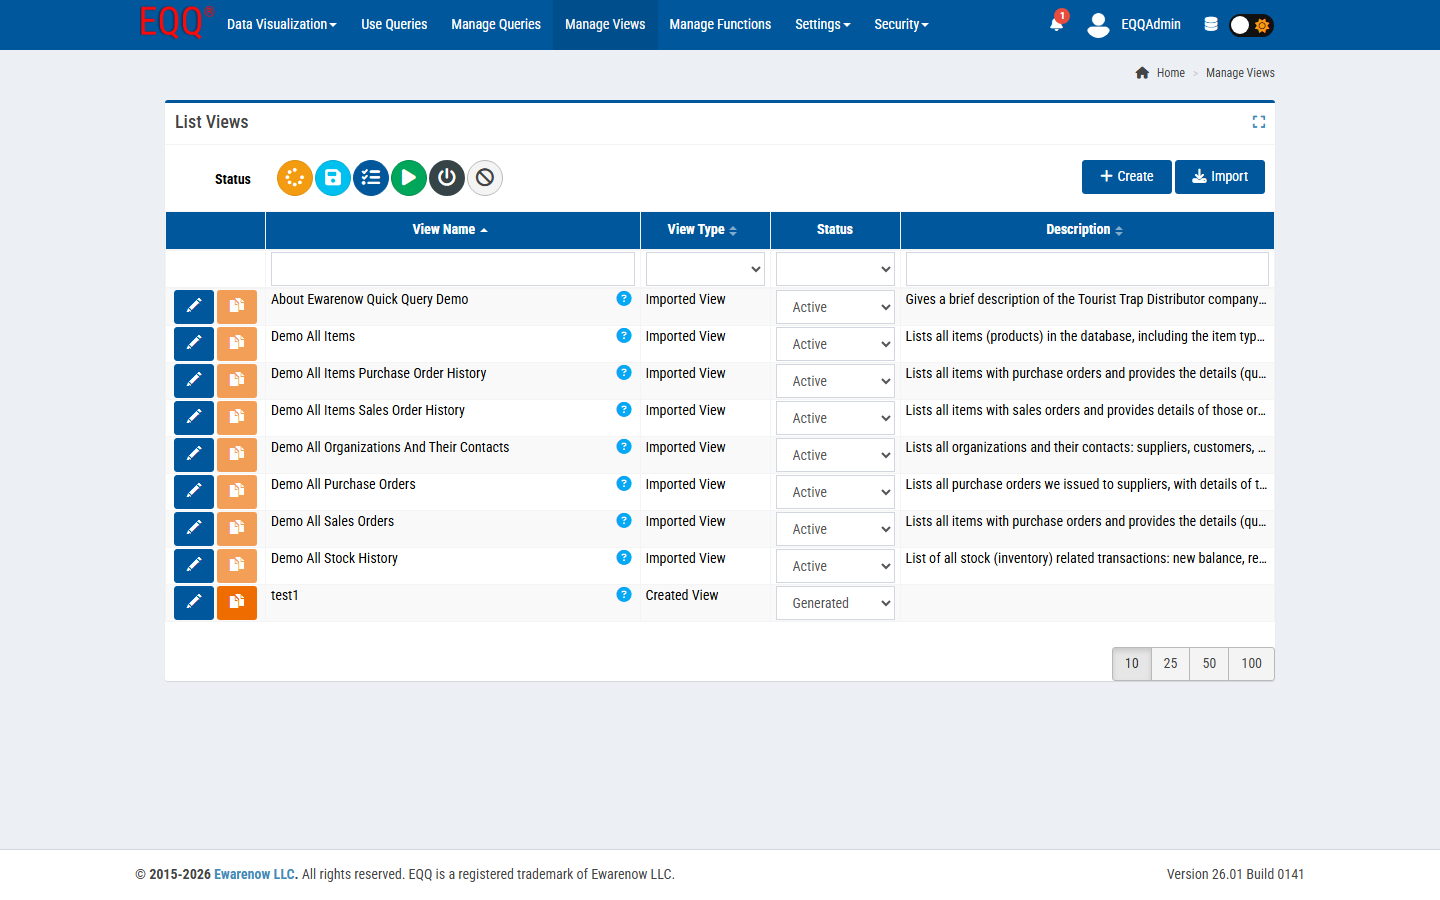
-
Click + Create.
-
Fill in the form:
Field What to enter View Name A friendly name — e.g. CustomersTechnical Name Auto-filled — leave as-is Table / SQL Source Pick the source table from the dropdown — e.g. dbo.CustomersDescription Optional — helps other designers discover the view -
In the Columns section, check each column you want to expose. Uncheck anything sensitive (passwords, internal keys).
- Click Save.
-
Click Activate View in the toolbar.
Status must reach Active before any query can use this View.
Rule of thumb
One View per real-world entity — Customers, Orders, Products. Add joins here, not in queries.
Step 4 — Build a Query
A Query is a question you ask of a View. The seven-step wizard builds the SQL for you — no typing required.
-
In the top bar, click Manage Queries.

-
Click + Create. The query editor opens at Step 1.
4a — Basic Information (Step 1 of 7)
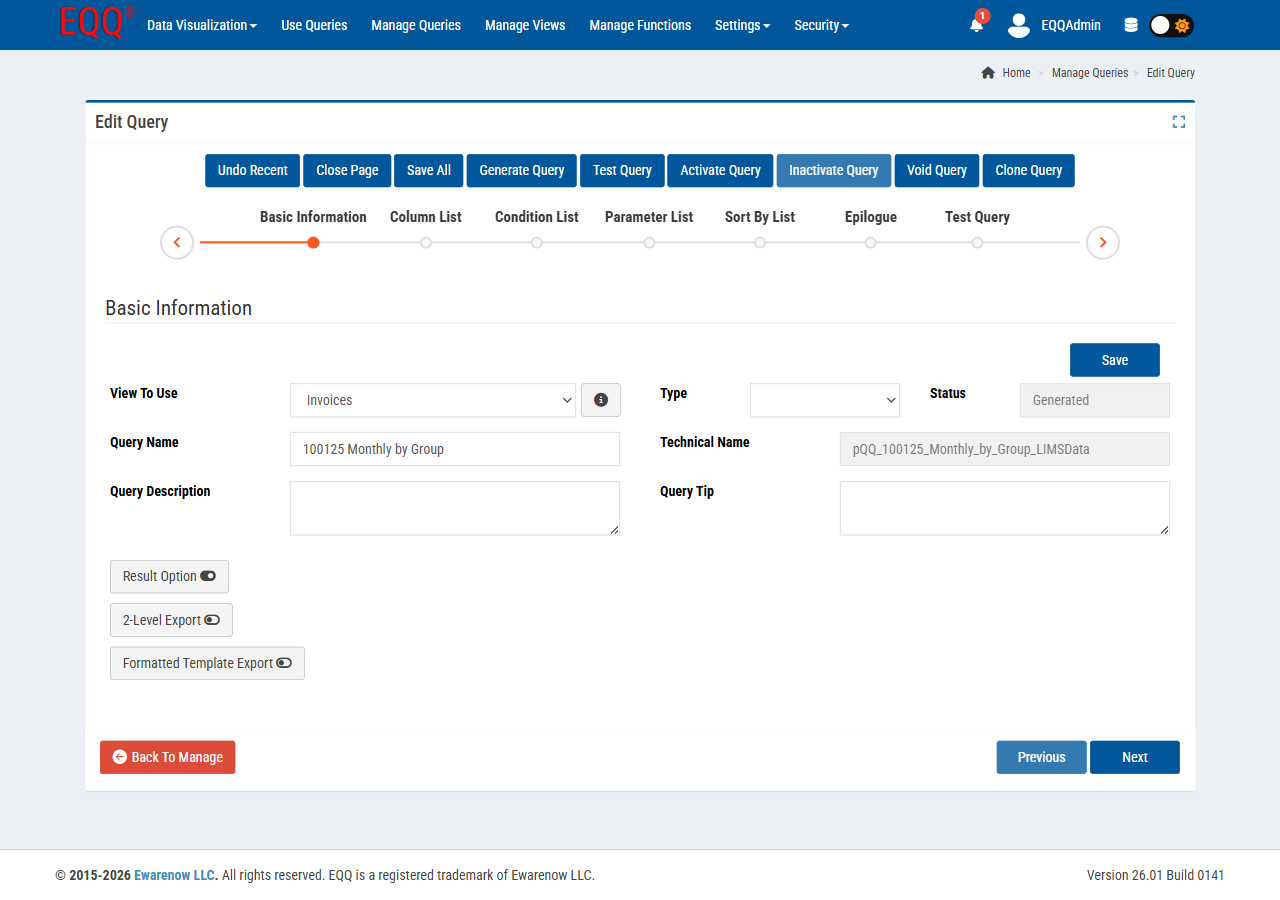
| Field | What to enter |
|---|---|
| View To Use | Select the View you created in Step 3 |
| Query Name | e.g. Customer List |
| Query Type | Pick any type, or leave the default |
| Query Description | e.g. Shows all active customers |
Click Next.
4b — Choose columns (Step 2 of 7)
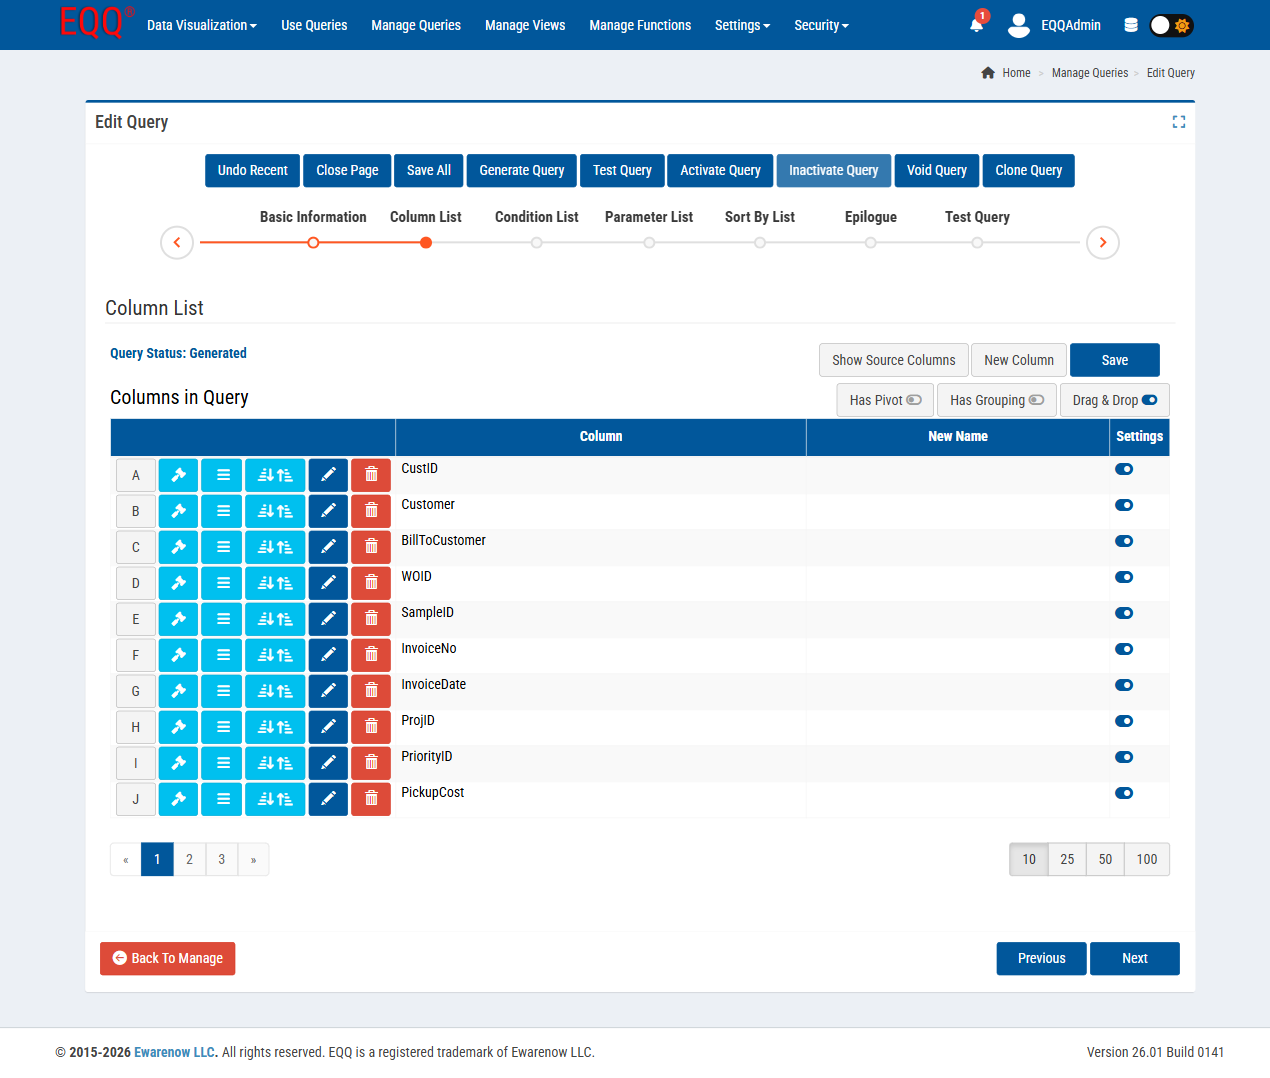
Check the columns you want returned. Drag rows to reorder; use Display Name to give columns friendlier headings for end users.
Click Next. Skip Step 3 (Conditions) for now by clicking Next again.
4c — Add a parameter (Step 4 of 7) — optional
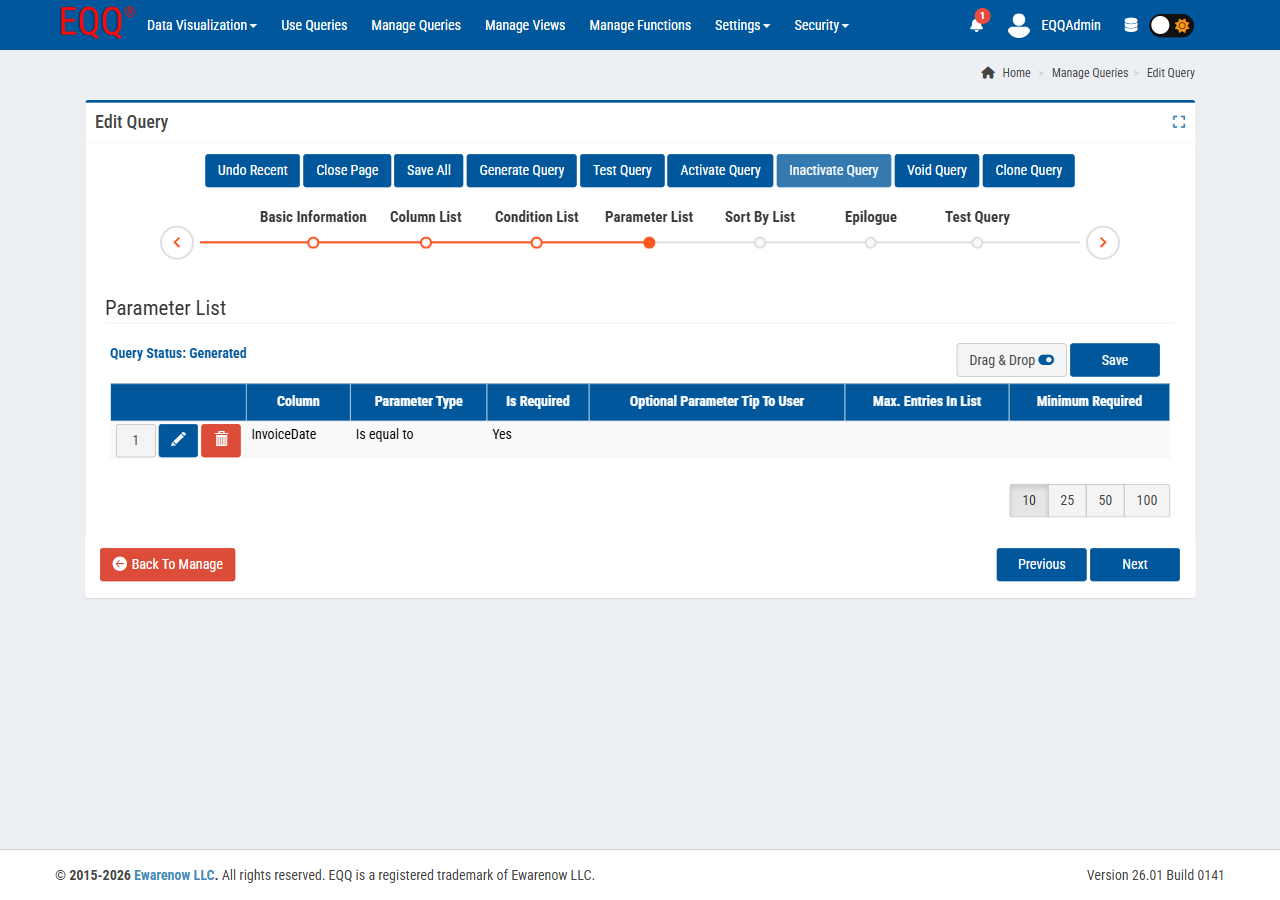
Parameters let end users filter results at runtime — e.g. "show only customers in this city". For your first query you can skip this step entirely. Click Next until you reach Step 7.
4d — Test and activate (Step 7 of 7)
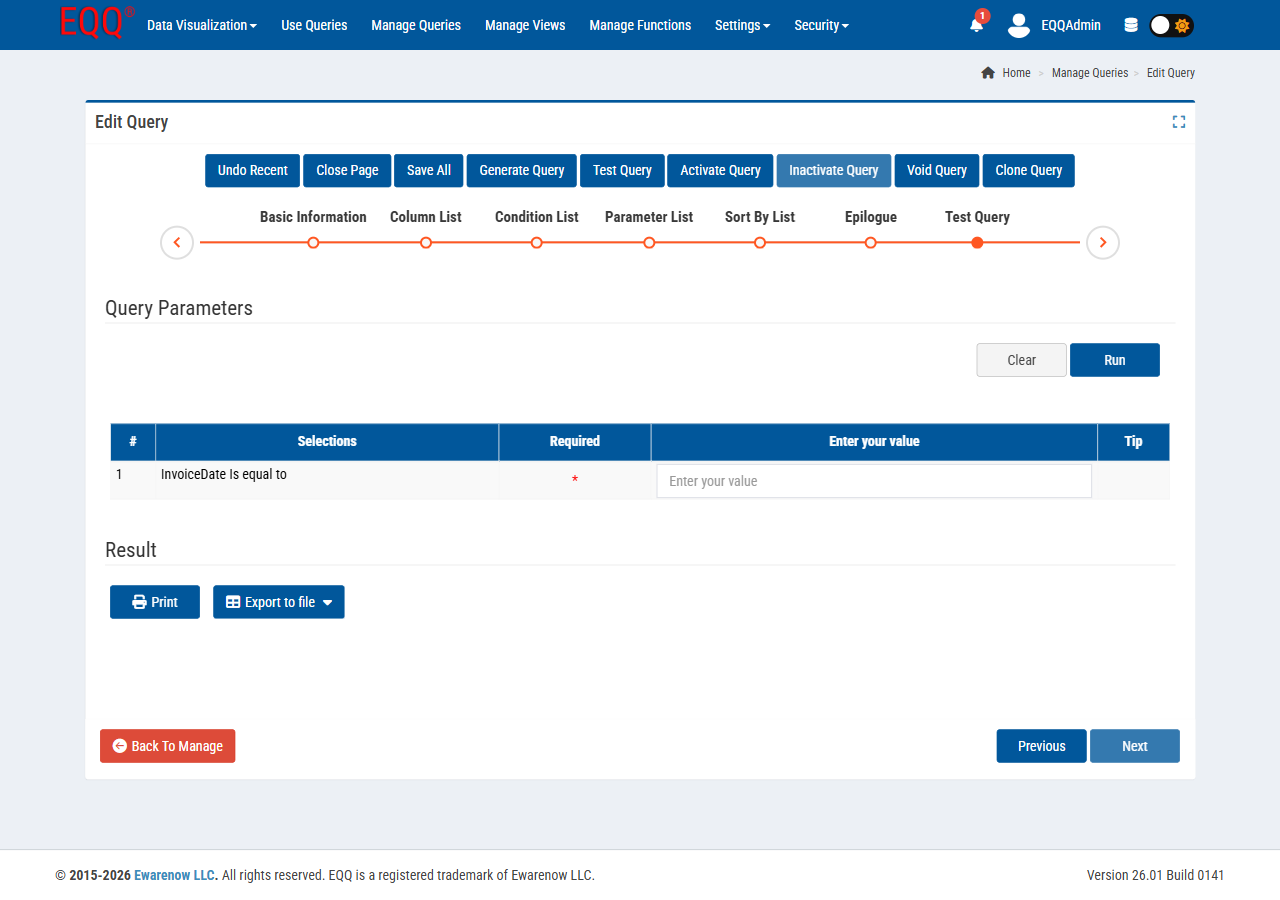
- Enter sample values for any parameters you added.
- Click Test Query — a preview result grid appears.
- If the results look right, click Generate Query, then Activate Query.
Status is now Active. Your query is live.
Step 5 — Run your query
-
In the top bar, click Use Queries.

-
Find your query in the list and click the green ▶ button.
-
Fill in any parameters you added, then click Run.
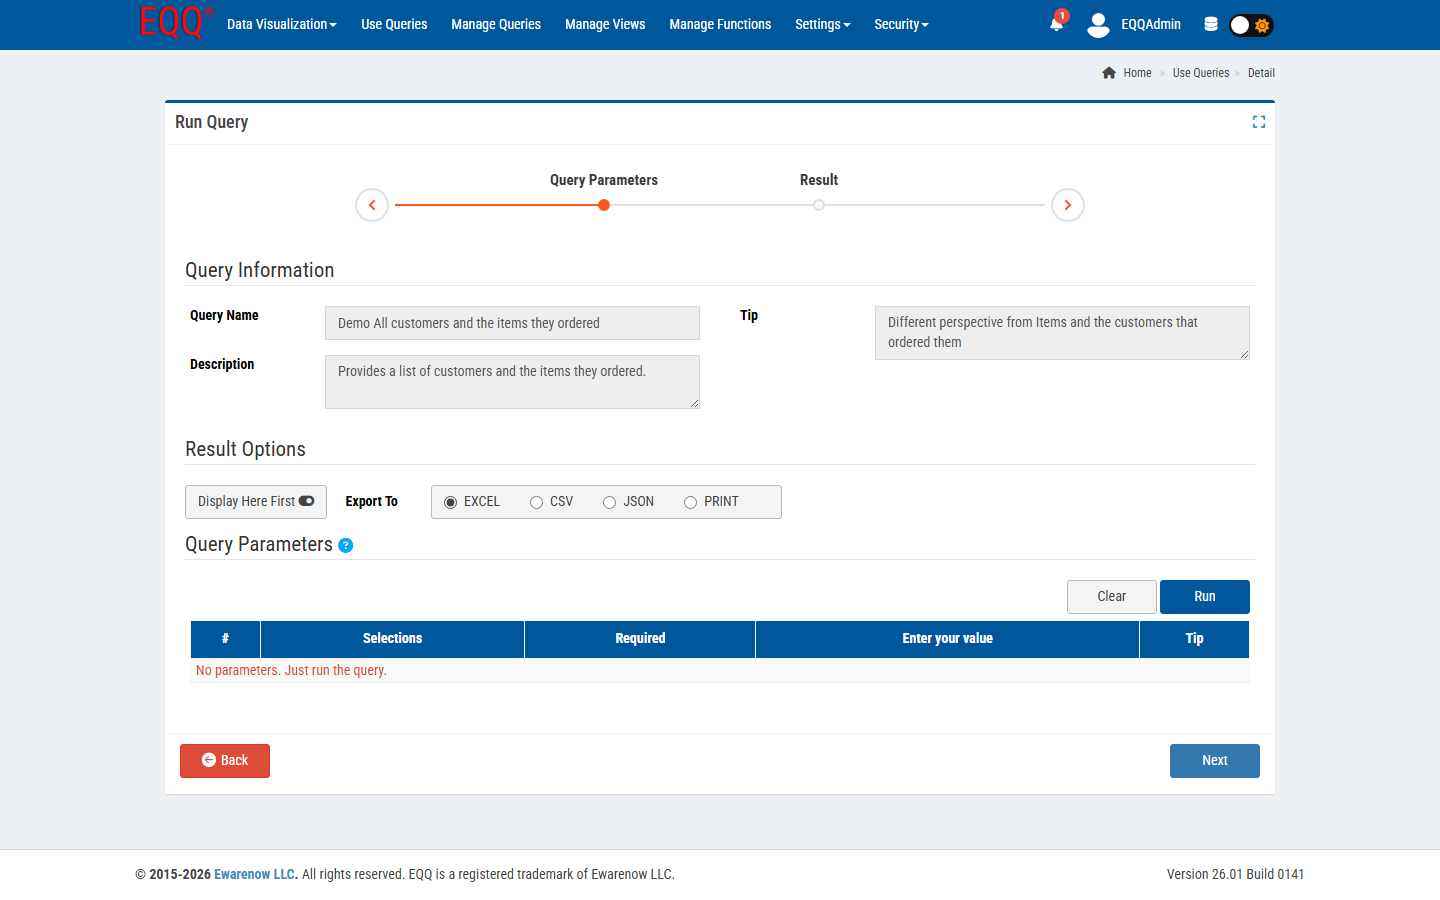
Results appear in the grid. From here you can:
- Sort by clicking any column header.
- Filter by typing in the input row beneath each header — results narrow in real time.
- Export to Excel, CSV, JSON, or Print using the buttons at the top of the page.
You're done
You've completed the full cycle:
Every query you build from now on follows the same pattern. Views and Queries can be reused, cloned, and versioned — so this foundation scales as your needs grow.
What's next?
| I want to… | Go here |
|---|---|
| Add filters users fill in at runtime | Parameter List |
| Sort and page through large results | Filtering, Sorting & Paging |
| Publish this query as a REST API | Query To JSON |
| Turn the results into a chart | Query To Chart |
| Connect Claude or Copilot to this data | MCP Gateway |
| Add more users | Security → Users |
| Understand all seven editor steps | Building Queries & Views |