Building Queries & Views (Level 2)
4.1 Manage Views
Views are the building blocks. A View is a projected, governed table - it picks which columns of a source table are visible, applies joins, and gives friendly names. Queries are always built on top of Views - they never reference raw tables.
Navigate: top bar → Manage Views.
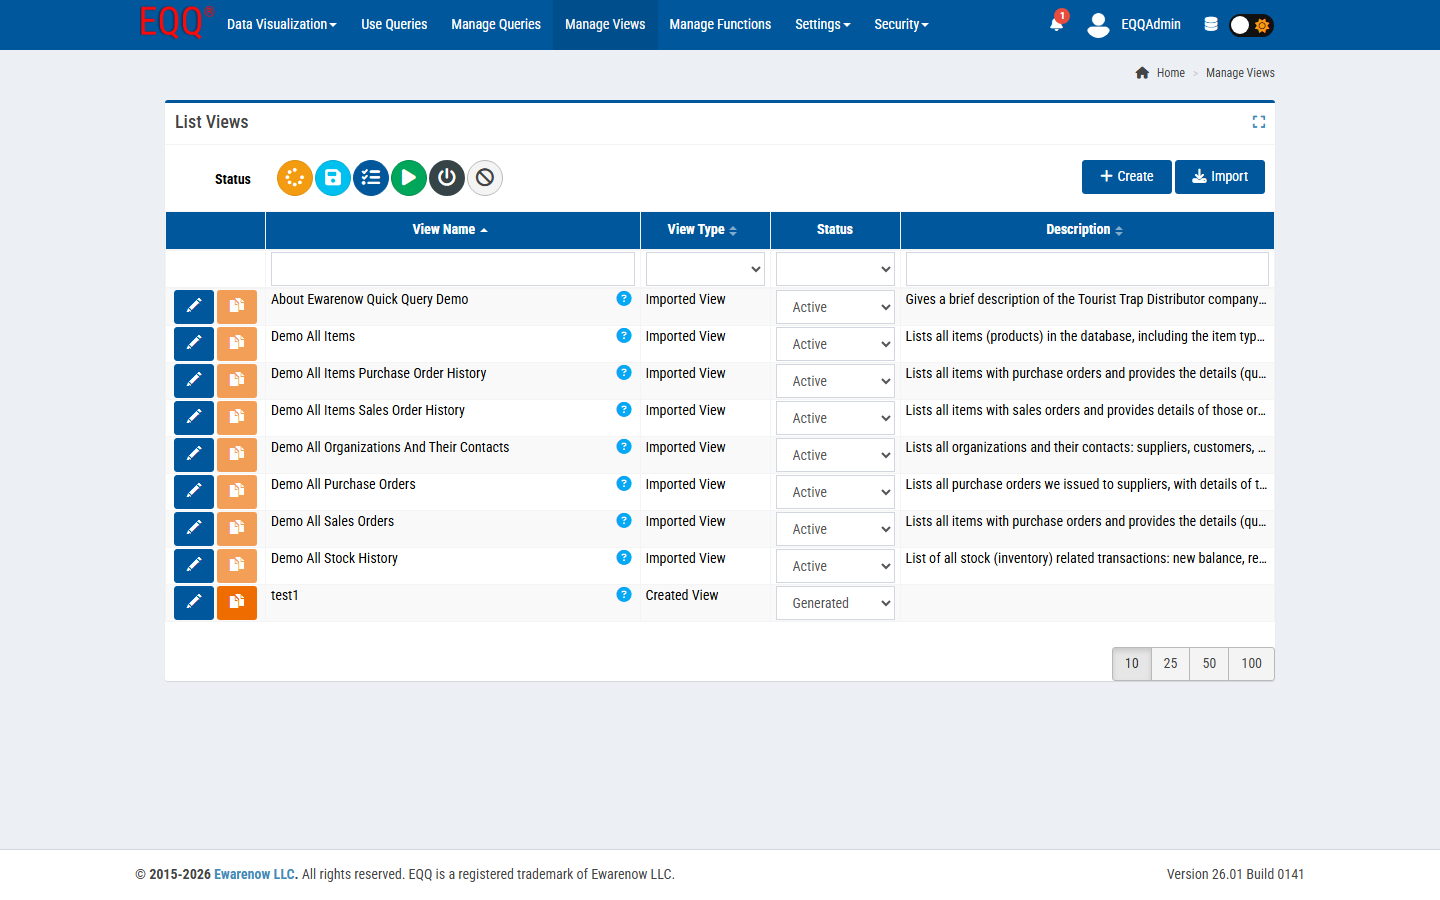
Toolbar
- Status filter row - icons (colour-coded) for each lifecycle state. Click to filter.
- Create - opens the view designer (name, target table/SQL, columns, status).
- Import - bulk-import a view definition file (
.jsonor.xml) exported from another EQQ instance.
Row actions
| Icon | Action |
|---|---|
| Blue pencil | Edit view definition. |
| Orange copy | Clone view (new technical name, same structure). |
| Blue "?" (tip) | Hover to see the view's authored tip. |
Columns: View Name, View Type (e.g. Imported View vs Created View), Status, Description.
Rule of thumb
Keep one View per real-world entity (Customers, Orders, Items). Join in Views, not in Queries.
4.2 Manage Queries
Navigate: top bar → Manage Queries.

Same shape as Manage Views, with an extra column View Being Used - the underlying view the query reads from. Clicking the view name jumps to the view definition.
Toolbar:
- Status filter row - six icons, one per lifecycle state (see 4.4).
- + Create - opens the query editor.
4.3 Query Editor Walkthrough
Click + Create on Manage Queries, or the blue pencil on any existing query.
The editor is a wizard with seven steps shown as a progress bar:
- Basic Information - starting metadata.
- Column List - pick which view columns are returned and in what order; rename for display.
- Condition List - WHERE-clause builder (field, operator, value, AND/OR grouping).
- Parameter List - declare runtime inputs; bind them into condition values.
- Sort By List - default ordering.
- Epilogue - optional post-processing SQL (e.g. summary row, UPDATE for audit).
- Test Query - execute with sample parameter values and preview rows.
Use Previous / Next at the bottom to move between steps, or click the step label directly.
Step 1 - Basic Information
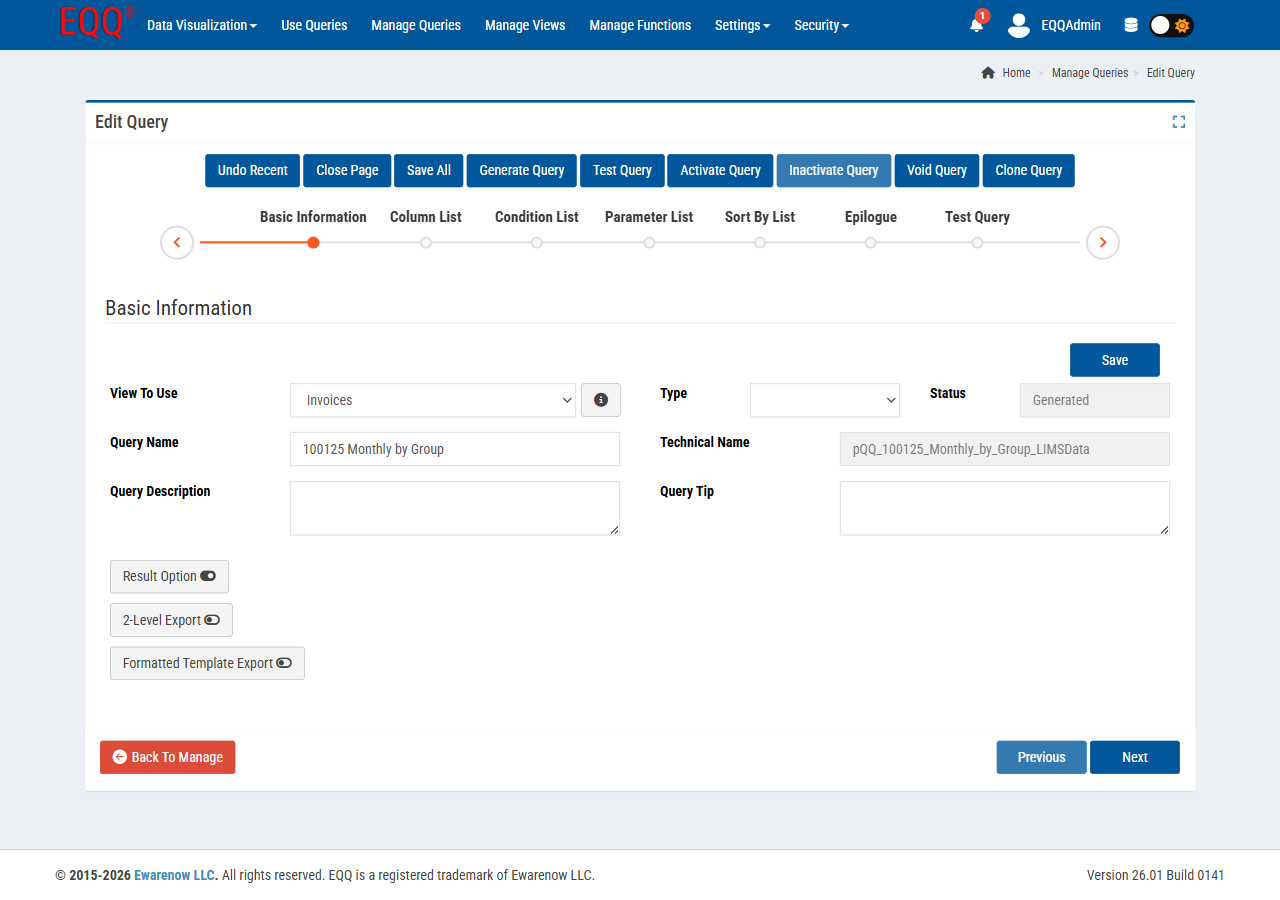
Basic Information fields
| Field | Purpose |
|---|---|
| View To Use | The single View this query reads from. Required. |
| Query Type | Category (from Settings → Query Type) - drives how end users find the query. |
| Query Name | Friendly name shown to end users. |
| Technical Name | Machine-safe identifier (auto-suggested from Query Name; unique per database). |
| Query Description | End-user-facing description - appears in Use Queries list. |
| Query Tip | Hover tip shown in Use Queries and parameter prompts. |
Toolbar actions (always visible)
| Button | Action |
|---|---|
| Undo Recent | Rolls back the last saved edit during this session. |
| Close Page | Exits without saving (prompts for unsaved changes). |
| Save All | Commits the draft. Status moves from In Process → Saved. |
| Generate Query | Produces the final SQL from the wizard and sets status to Generated. |
| Test Query | Jumps to step 7 and runs a test execution. |
| Activate Query | Status → Active. Makes the query visible under Use Queries. |
| Inactivate Query | Status → Inactive. Hidden from end users, retained for editing. |
| Void Query | Soft-delete. Cannot be re-activated - clone instead if needed again. |
| Clone Query | Creates a copy with a new technical name. Useful for making variants. |
Step 2 - Column List
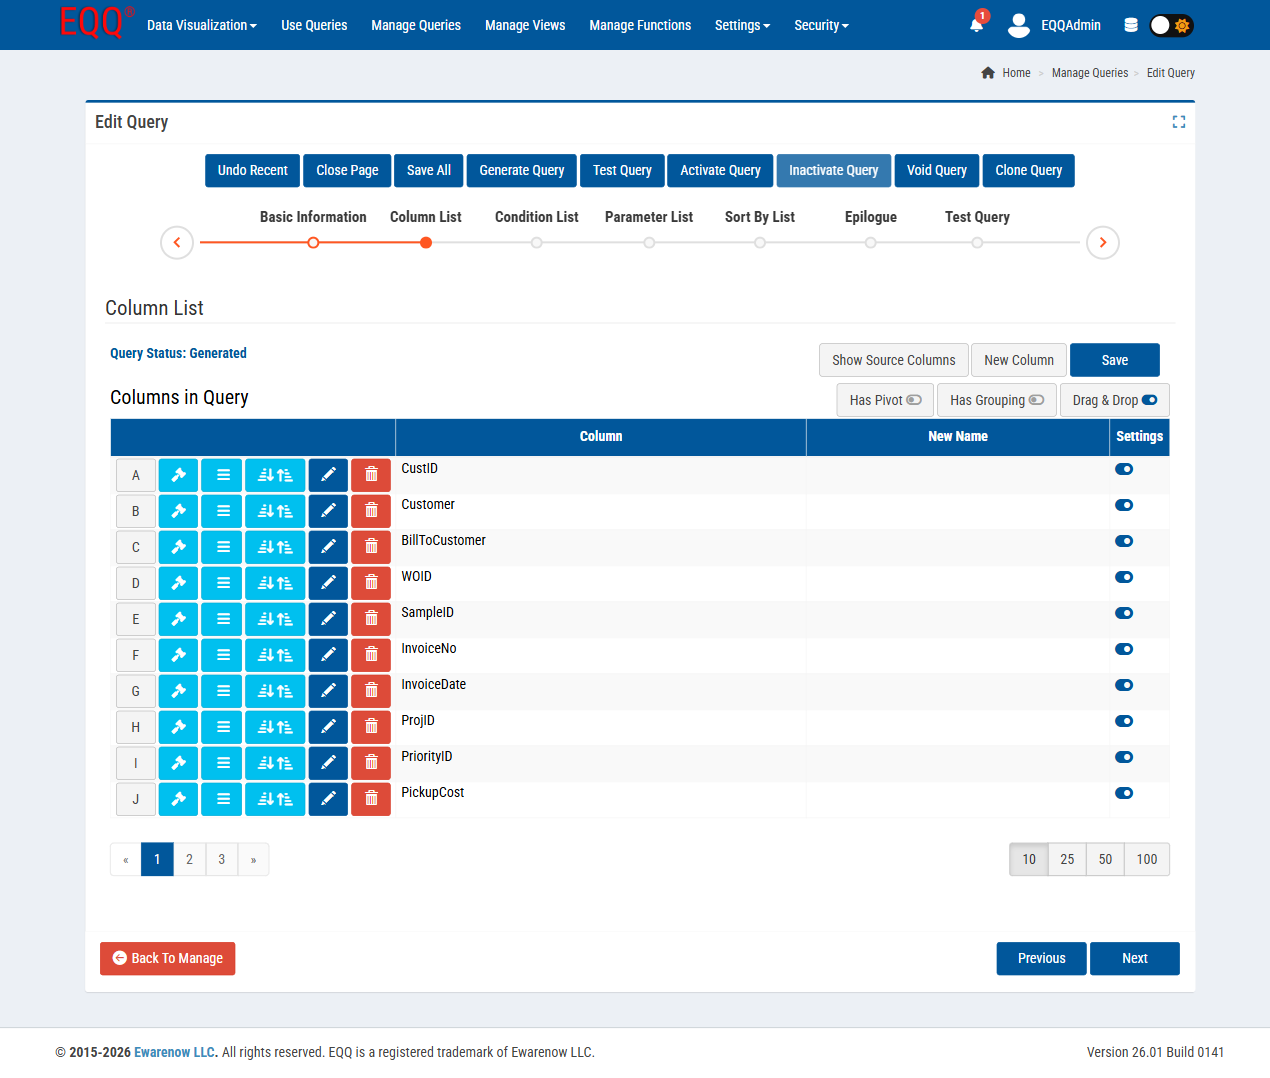
Pick which view columns are exposed. Drag to reorder; set a Display Name to rename the column for end users.
Step 3 - Condition List
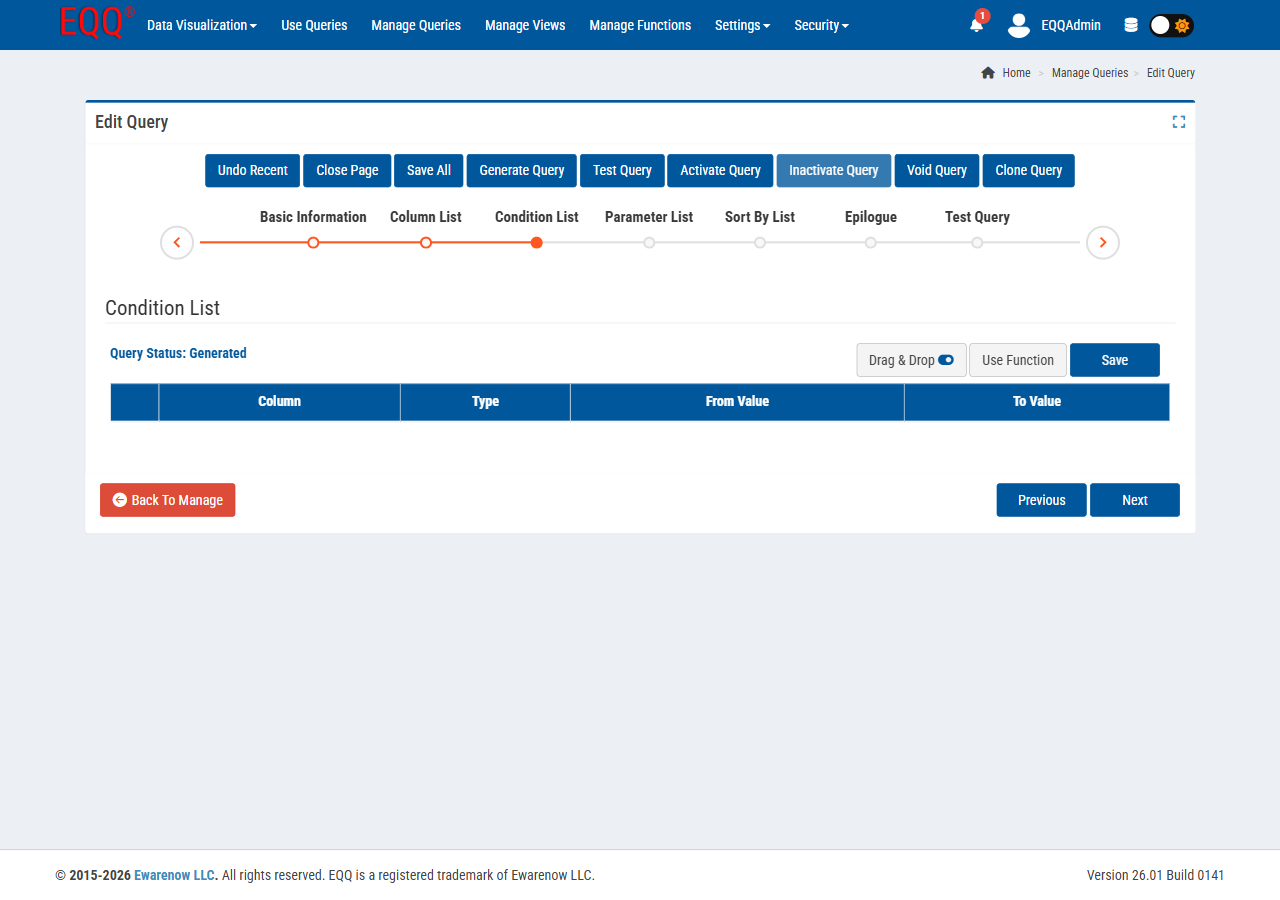
Build the WHERE clause graphically: choose Field, Operator, and Value. Combine rows with AND/OR.
Step 4 - Parameter List
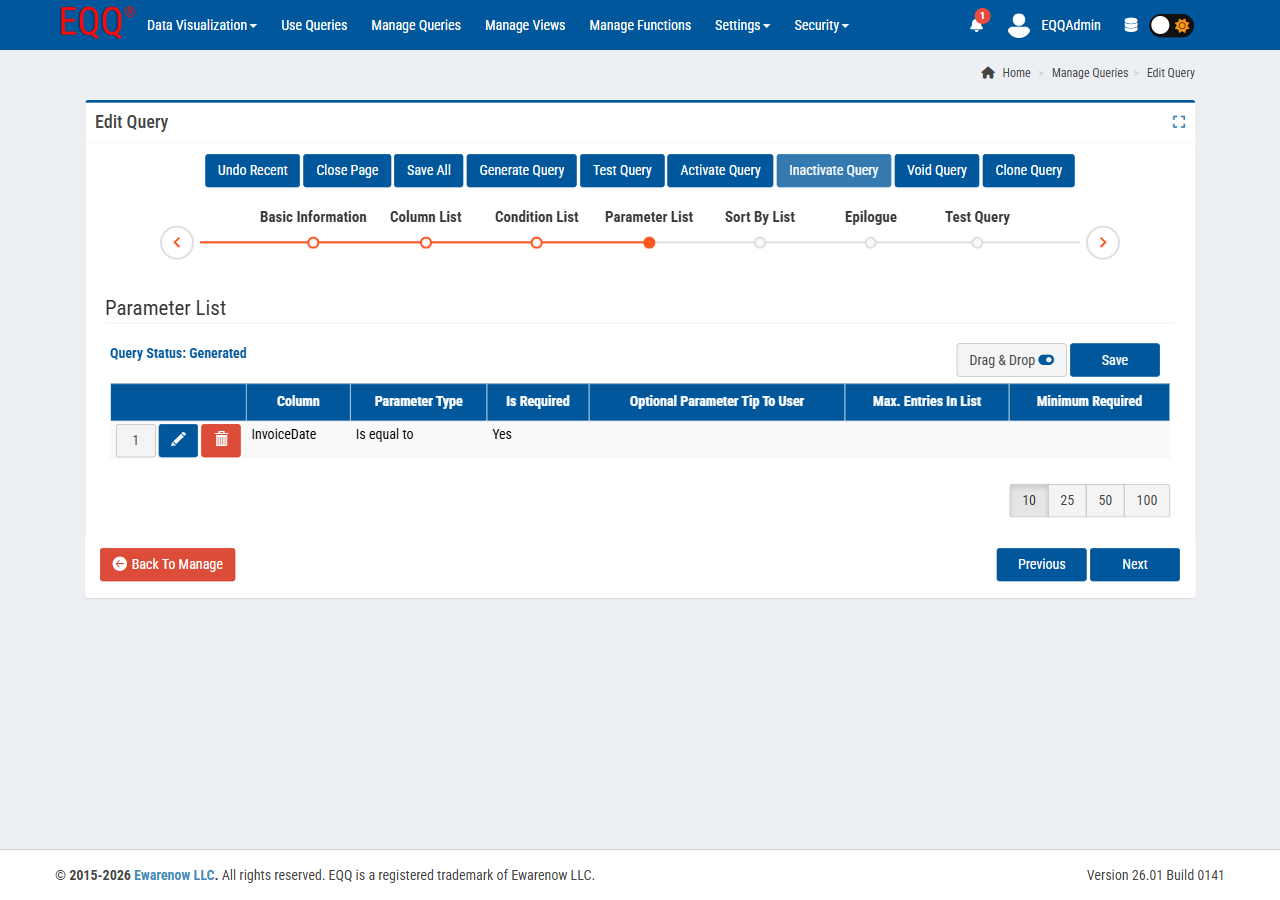
Declare runtime inputs. Bind each parameter into a Condition row so the value is injected at execution time. Mark as Required to enforce a value before the Run button becomes active.
Step 5 - Sort By List
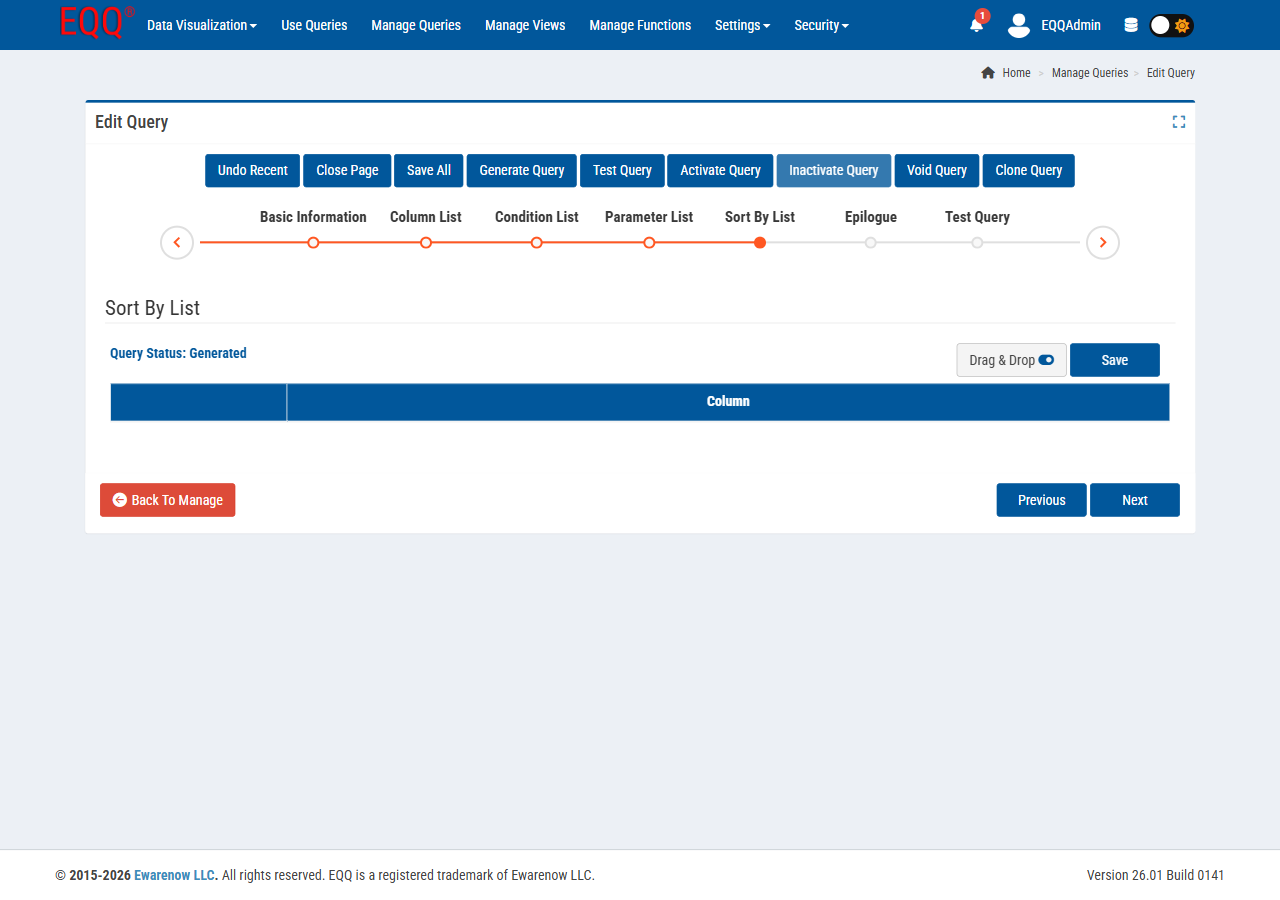
Set default column ordering (ascending / descending). Users can override interactively in the result grid.
Step 6 - Epilogue
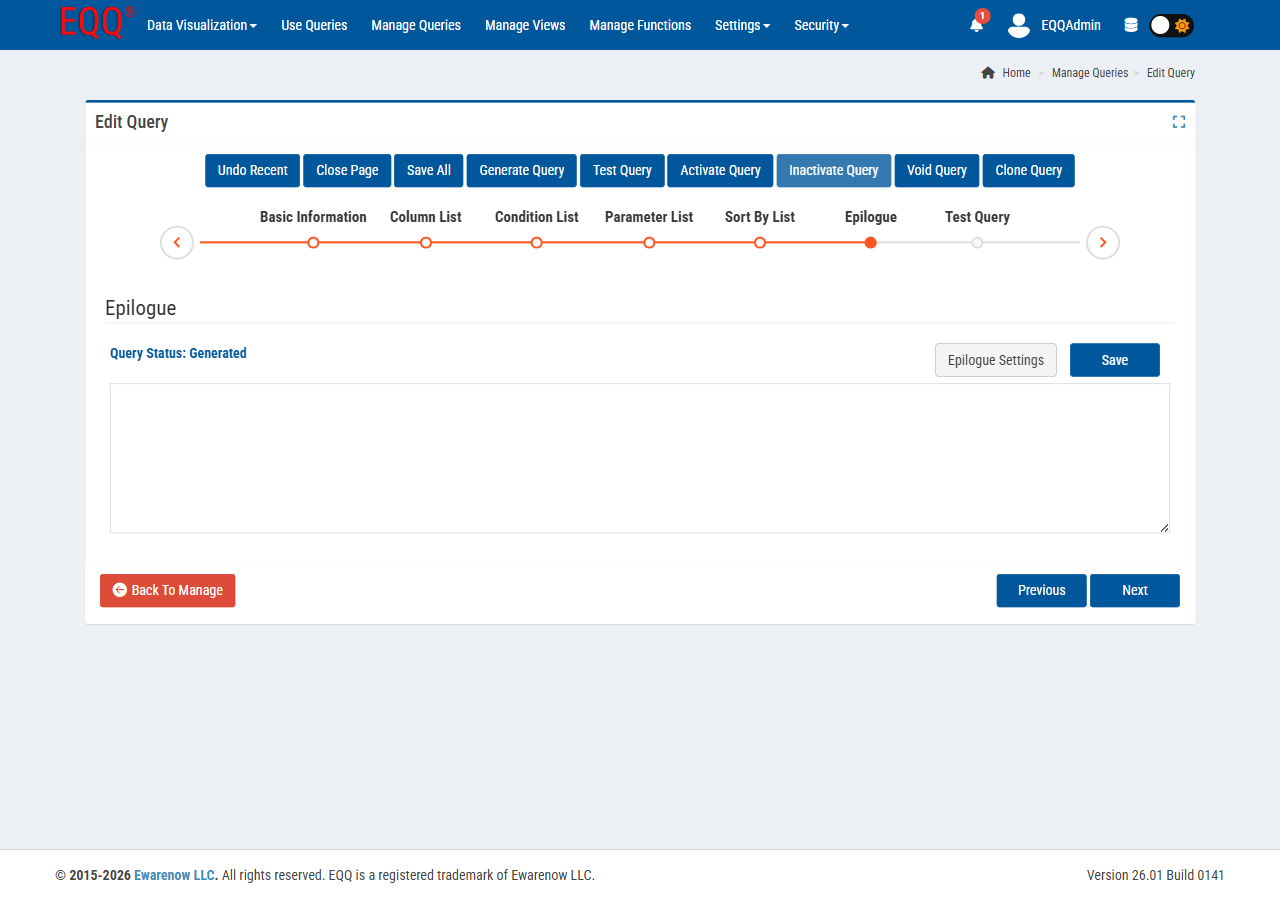
Optional SQL executed after the main SELECT, inside the same transaction. Used for audit inserts or flag updates.
Step 7 - Test Query
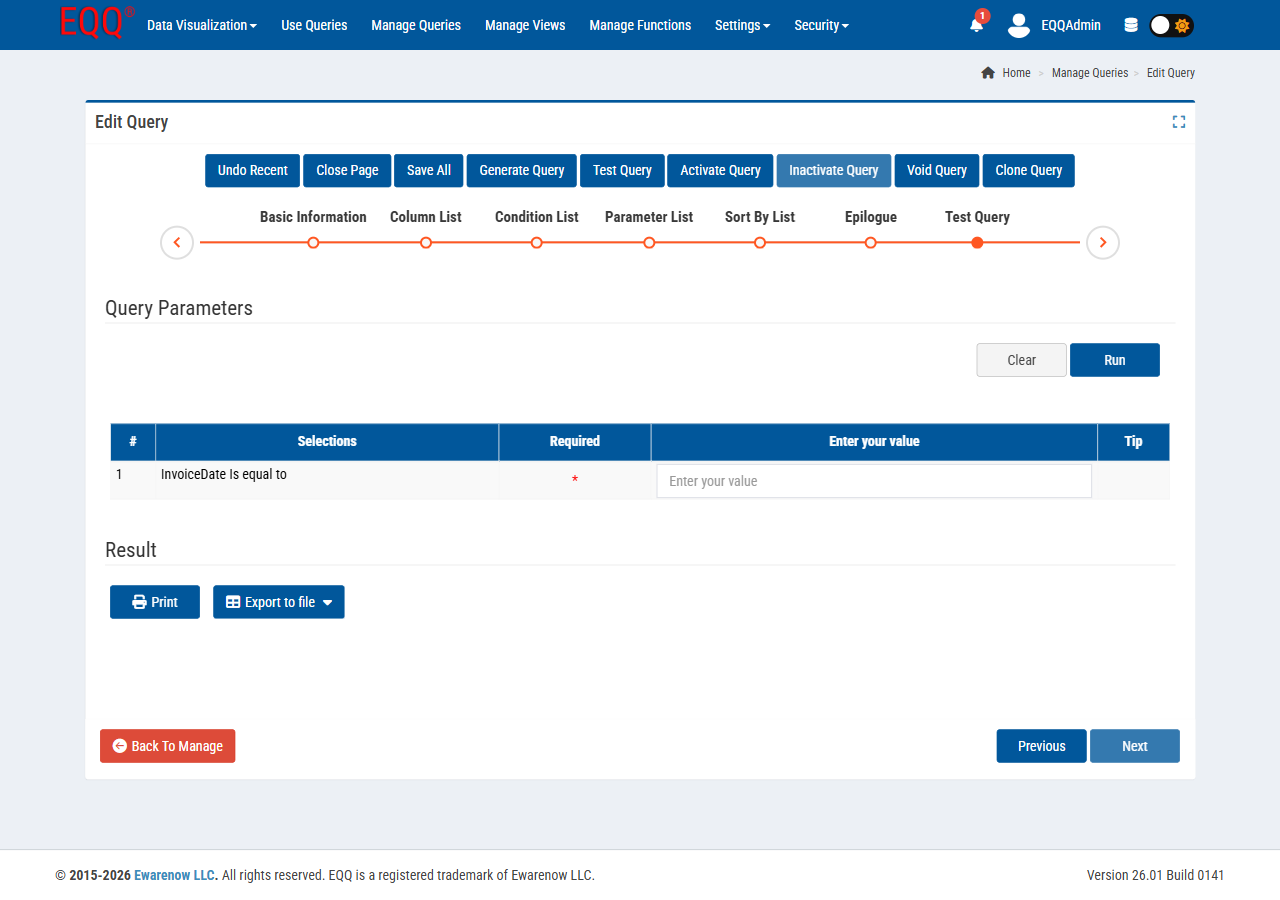
Enter sample values for all parameters and run the query to preview the result set before activating.
4.4 Query Lifecycle States
EQQ enforces a strict lifecycle. Only Active queries/views are consumable by end users and APIs.
| State | Icon tint | Meaning |
|---|---|---|
| In Process | Orange | Draft being edited. Never executable. |
| Saved | Cyan | Persisted draft. Still not executable. |
| Generated | Dark blue | SQL has been produced and validated. Ready to activate. |
| Active | Green | Live - visible in Use Queries / JSON API / Chart API. |
| Inactive | Grey | Temporarily hidden from users; designer can re-activate. |
| Void | Black ∅ | Permanently retired. Audit trail retained; no edits allowed. |
The same six states apply to Views.