Account & Security (Per-User)
7.1 My Account
Click your user name in the top-right to open My Account (/#!/my-account).
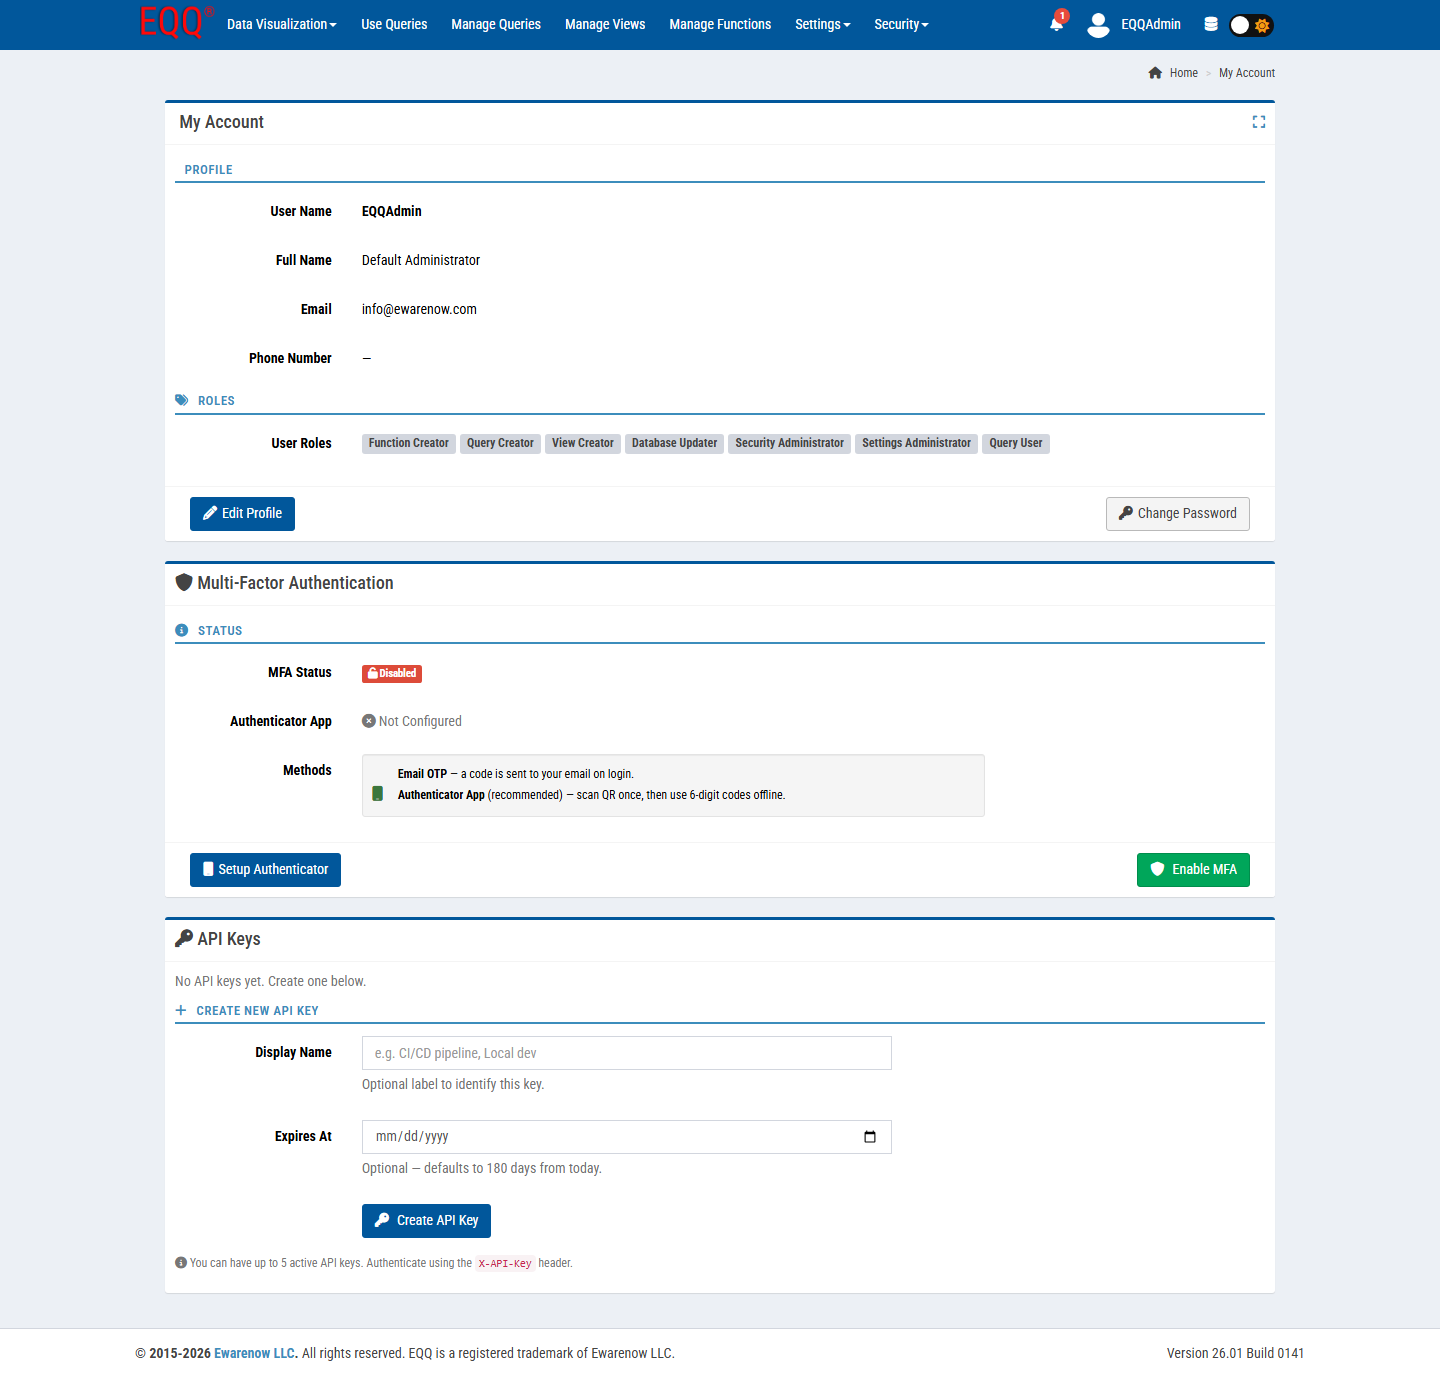
Three sections:
Profile
- User Name (read-only).
- Full Name, Email, Phone Number - click Edit Profile to change.
- Change Password button - opens a modal; subject to the password policy.
Roles
Read-only list of role tags granted to you (e.g. Query Creator, View Creator, Security Administrator). If you need a missing permission, ask a Security Administrator.
Multi-Factor Authentication
See below.
API Keys
See API Keys section.
7.2 Multi-Factor Authentication (MFA)
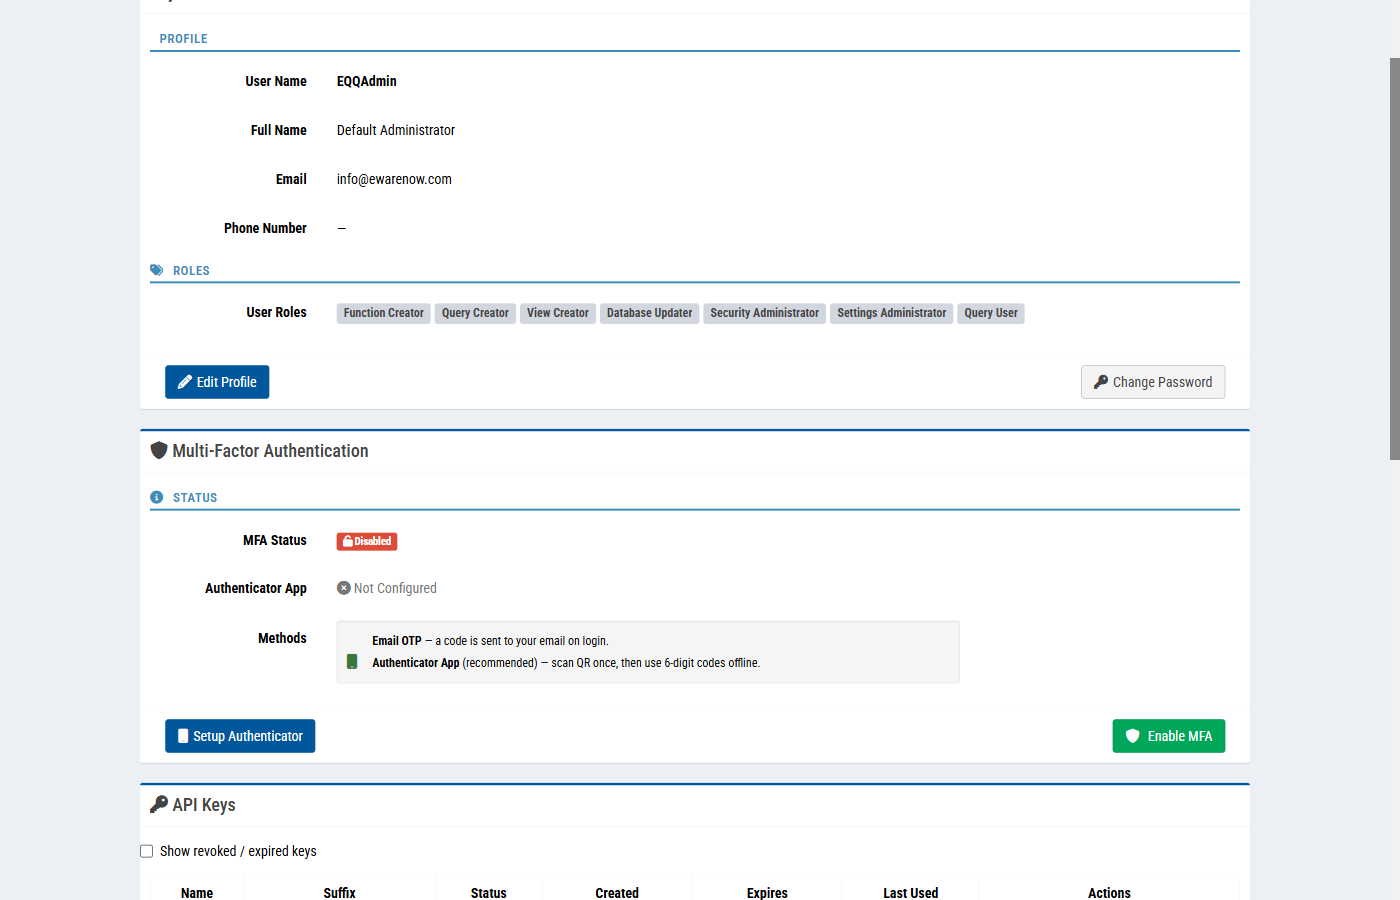
Two methods are supported:
- Email OTP - a 6-digit code is sent to your account's email address on every login.
- Authenticator App (recommended) - scan a QR code once, then generate codes offline (Google Authenticator, Microsoft Authenticator, Authy, 1Password).
Enrollment (Authenticator App)
- My Account → Multi-Factor Authentication → Setup Authenticator.
- A QR code and a secret appear. Scan with your authenticator app or enter the secret manually.
- Enter the current 6-digit code back into EQQ to confirm enrollment.
- Click Enable MFA. Status changes from Disabled to Enabled.
Login with MFA
After username/password, EQQ prompts for a TOTP code. If you tick Remember this device, EQQ sets a trust cookie for RememberDeviceDays (default 365).
Admin-level controls for MFA live in Settings → Control → MFA Settings:
Enabled- tenant-wide master switch.ExpirationSeconds- code validity window (default 7200 = 2 hours for Email OTP).MaxAttempts- default 3; locks the session on exceeding.RememberDeviceDays/RememberDeviceEnabled.
7.3 API Keys
Personal tokens for machine access. They are the recommended authentication method for Query To JSON - you avoid embedding usernames and passwords in scripts.
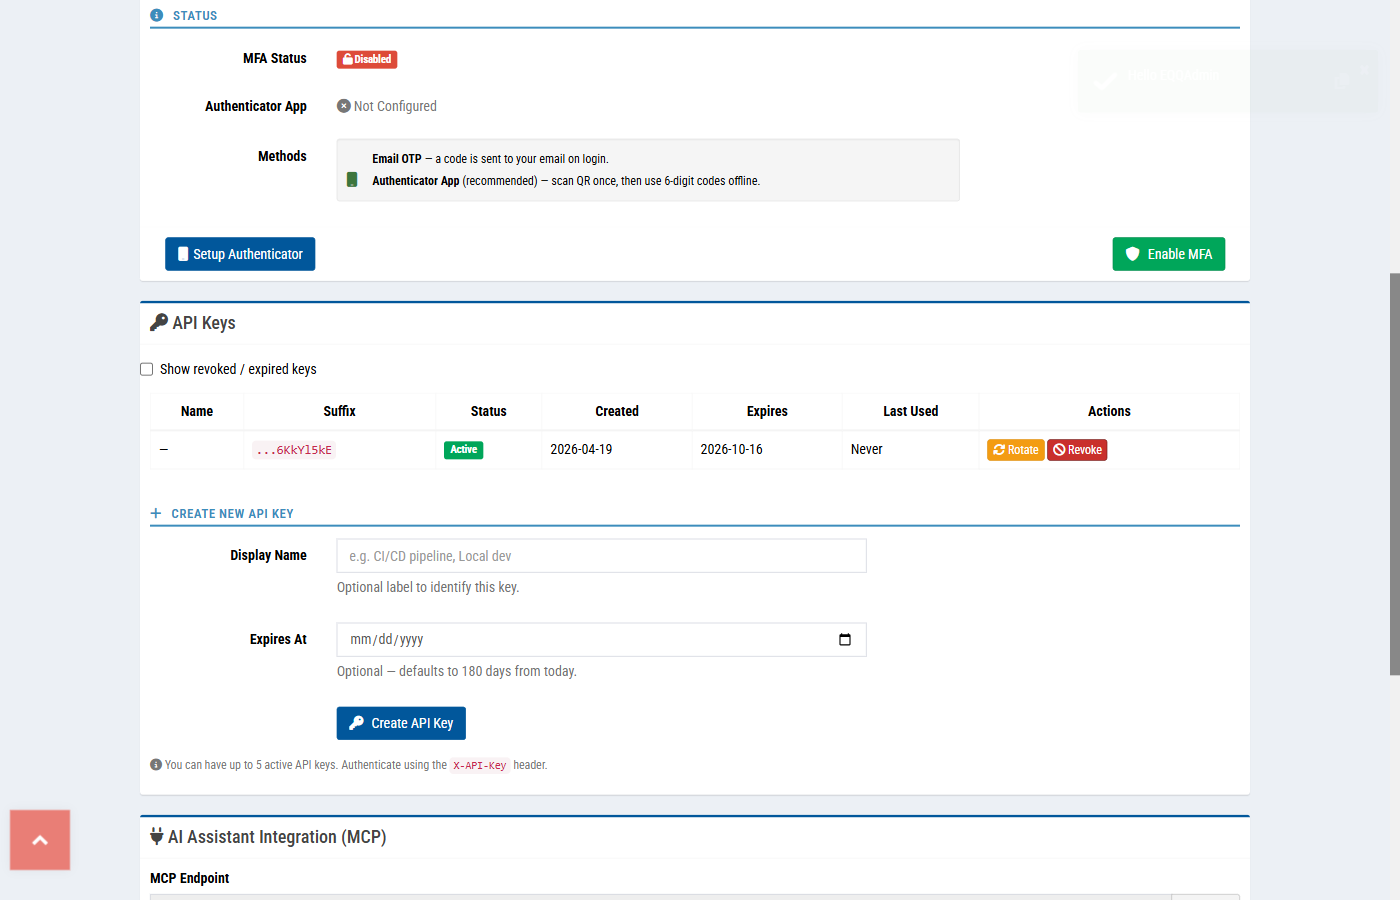
Create a key
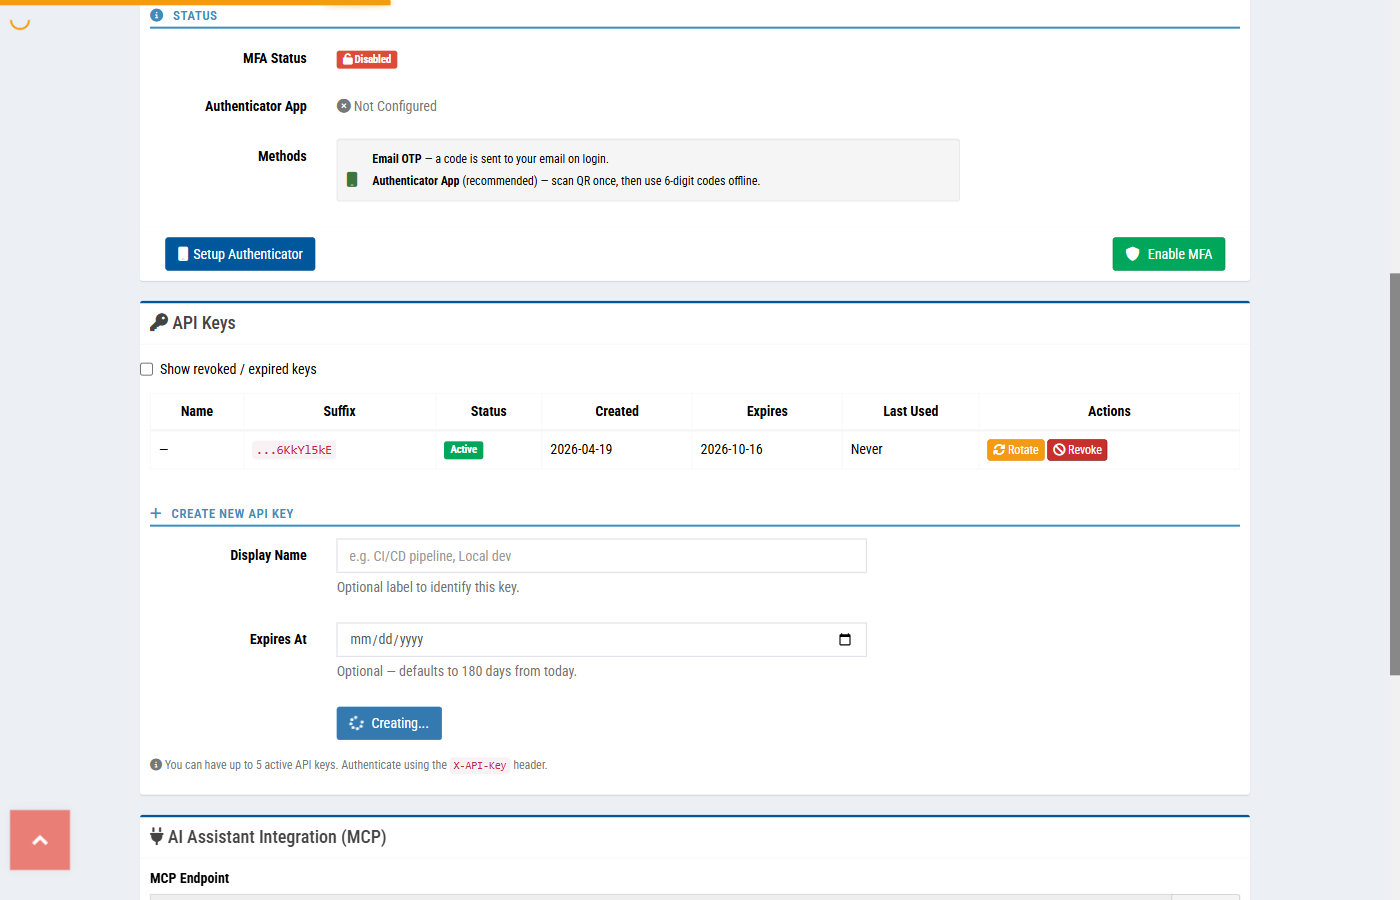
- My Account → Create New API Key.
- Enter a Display Name (e.g. CI/CD pipeline, Local dev).
- Optional Expires At - defaults to 180 days from today.
- Click Create API Key.
- Copy the key immediately - EQQ shows it once, never again.
Use it
Limits
- Up to 5 active keys per user.
- Keys inherit the user's role permissions and database scope.
- Revoke by clicking the delete icon on the key row.
AI Assistant Integration (MCP)
Your My Account page also shows an AI Assistant Integration (MCP) panel with your MCP endpoint and API key, ready to paste into an MCP client's configuration. See Connect an AI Assistant for a quick walkthrough, or the MCP Gateway reference for the full protocol details.